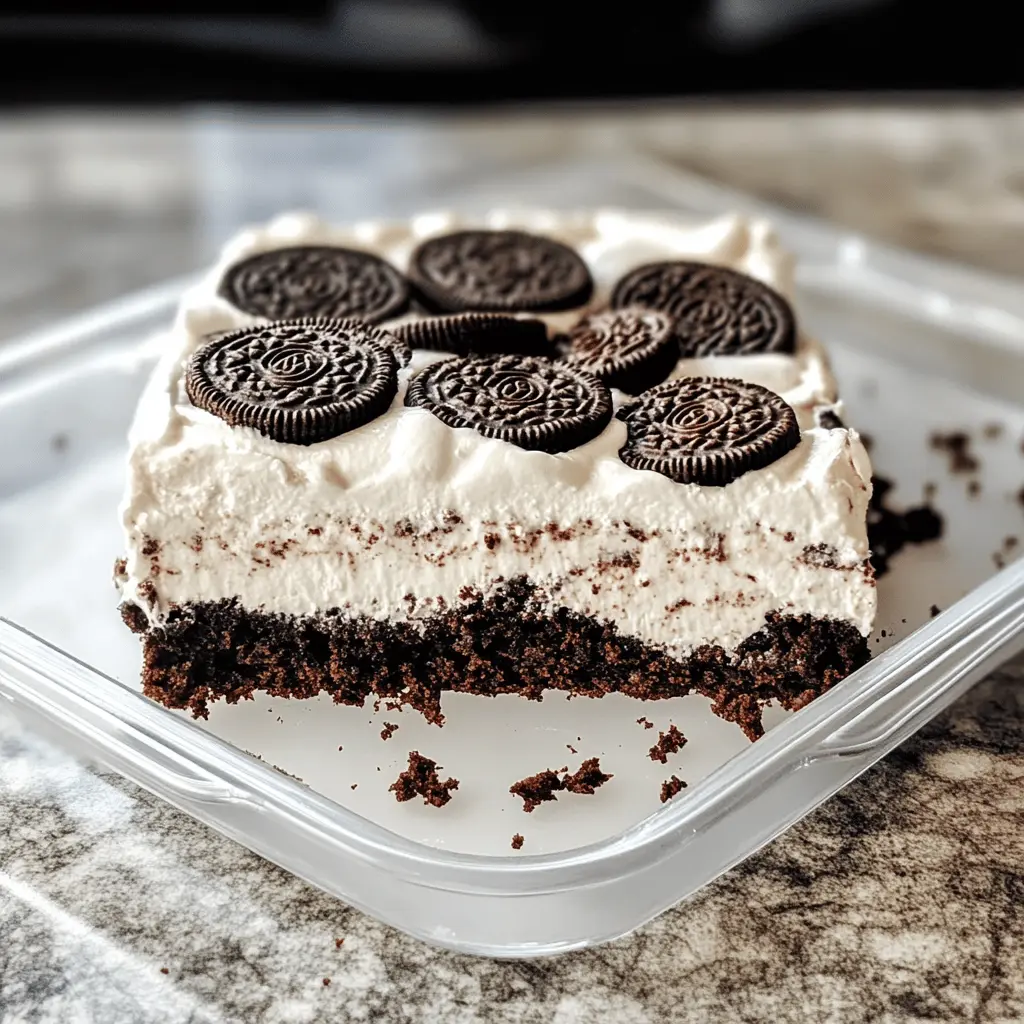
This Heavenly Oreo Dessert is a chocolate lover’s dream! It’s made with layers of creamy cheesecake, cool whipped topping, and crunchy Oreo cookies that add a delightful twist.
I can never get enough of this dessert! It’s perfect for parties or a cozy night in. Just be careful, because one slice is never enough! 🍪😋
Key Ingredients & Substitutions
Oreo Cookies: These are the star of the dessert. The classic chocolate Oreo works best, but you can try Golden Oreos or even other sandwich cookies if you’re looking for a twist!
Butter: I recommend unsalted butter to control the sweetness, but you could use margarine or coconut oil if you’re aiming for a dairy-free option.
Cream Cheese: Look for full-fat cream cheese for the best texture and taste. If you’re lactose intolerant, there are great non-dairy cream cheese alternatives available that work well here!
Whipped Topping: The classic Cool Whip is my go-to, but you can easily substitute with homemade whipped cream. Just whip heavy cream with a bit of sugar until it forms soft peaks.
Pudding Mix: Chocolate or vanilla pudding adds flavor depth. You can substitute with any instant pudding flavor or use a homemade custard if you want a more natural option.
How Do You Achieve the Perfect Layering?
Layering is crucial for a gorgeous dessert! Start with your crust, pressing it firmly to ensure stability when serving. After the cream cheese mixture, make sure to spread it evenly.
- For the pudding, whisk thoroughly for a thick consistency; let it sit for a minute before layering.
- For the final whipped topping layer, put dollops on top and gently spread with a spatula for a smooth finish.
- Don’t rush the refrigerating step! Chilling is essential for the layers to set properly and for the flavors to blend beautifully.
How to Make Heavenly Oreo Dessert
Ingredients You’ll Need:
For the Crust:
- 1 package (16.6 oz) Oreo cookies, crushed
- 1/2 cup butter, melted
For the Cream Cheese Layer:
- 1 package (8 oz) cream cheese, softened
- 1 cup powdered sugar
- 1 container (8 oz) whipped topping, thawed
For the Pudding Layer:
- 1 package (3.9 oz) instant chocolate or vanilla pudding mix
- 2 cups milk
For the Topping:
- Additional crushed Oreos for garnish
How Much Time Will You Need?
This delightful dessert will take about 20 minutes to prepare and requires at least 4 hours to chill in the refrigerator. So, a little patience is key! Once it’s set, you’ll have a delicious treat ready to enjoy!
Step-by-Step Instructions:
1. Preheat the Oven:
Start by preheating your oven to 350°F (175°C). This way, your oven will be ready for you when you need it later.
2. Make the Crust:
In a mixing bowl, combine the crushed Oreo cookies and melted butter. Stir until the cookies are well-coated. Next, press this mixture firmly into the bottom of a 9×13 inch baking dish to create a solid crust. Get it nice and even!
3. Prepare the Cream Cheese Layer:
In another bowl, beat the softened cream cheese and powdered sugar together until the mixture is smooth. Then, gently fold in the thawed whipped topping until everything is well mixed. This will be your creamy layer!
4. Assemble the Dessert:
Spread the cream cheese mixture evenly over the Oreo crust in the baking dish. Use a spatula to smooth it out softly.
5. Make the Pudding Layer:
In a separate bowl, whisk together the pudding mix and milk until it thickens up nicely. This will take just a few moments. Once thick, pour the pudding over the cream cheese layer and spread it evenly with your spatula.
6. Add the Topping:
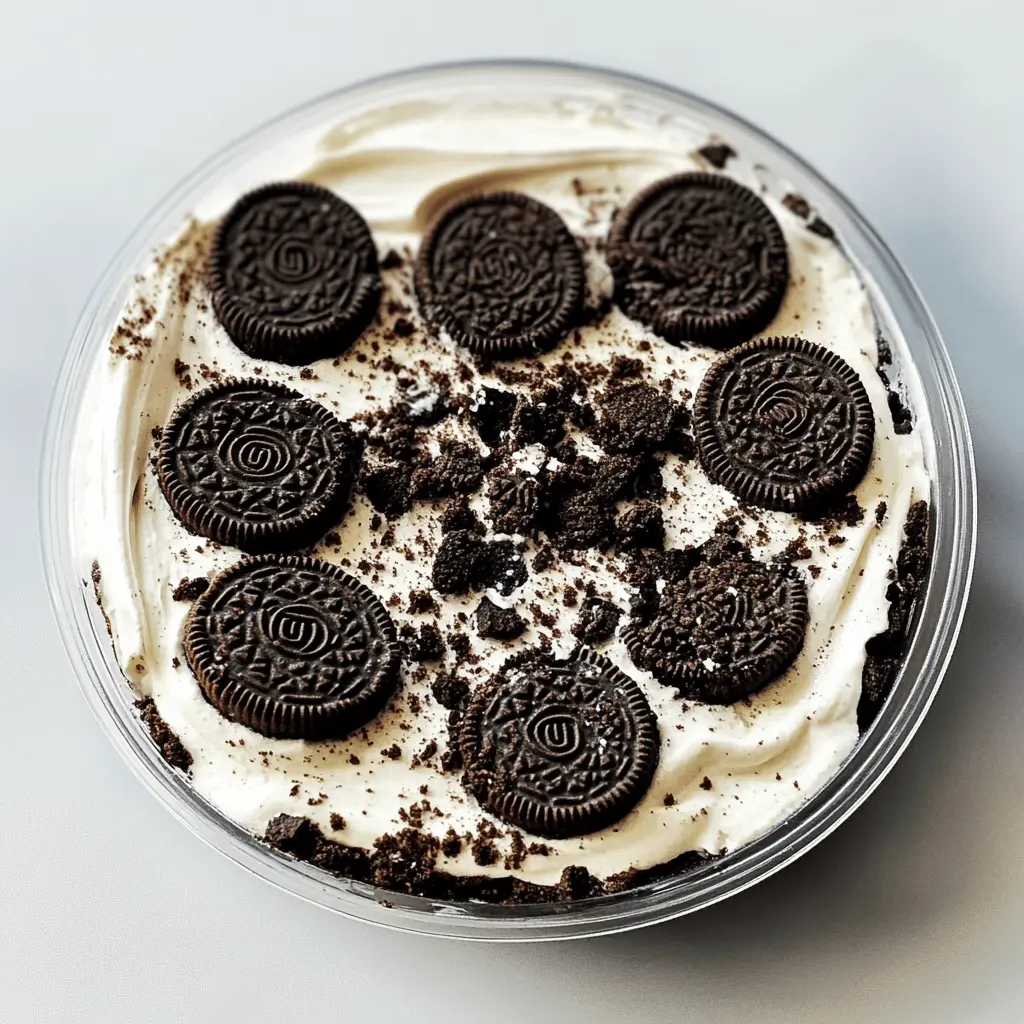
Now, it’s time to layer on some whipped topping! Spread it out gently to cover the pudding layer completely. You want it to look nice and smooth!
7. Garnish:
Finish your dessert by sprinkling some additional crushed Oreos on top for that extra crunch and yummy presentation.
8. Chill Before Serving:
Cover the dish and refrigerate for at least 4 hours, or until everything is set. Once it’s chilled, slice it into squares and it’s ready to serve! Enjoy your Heavenly Oreo Dessert!
Can I Use a Different Type of Cookie for the Crust?
Absolutely! If you prefer, you can use any chocolate cookie or even graham crackers for the crust. Just crush them the same way and mix with melted butter to create a similar texture.
How Should I Store Leftovers?
Leftovers should be stored in an airtight container in the refrigerator. This dessert can last up to 3-4 days. Just be sure to keep it covered to maintain its freshness!
Can I Make This Dessert Dairy-Free?
Yes! Substitute the cream cheese with a dairy-free cream cheese or a vegan alternative, and use a dairy-free whipped topping. For the pudding, make sure to choose a plant-based pudding mix and use almond milk or coconut milk as your liquid.
What If I Don’t Have Instant Pudding Mix?
If you don’t have instant pudding mix, you can make a homemade version by thickening milk with cornstarch and sugar over heat. However, for this recipe, it’s best to stick with instant pudding to get that creamy, set texture without cooking!