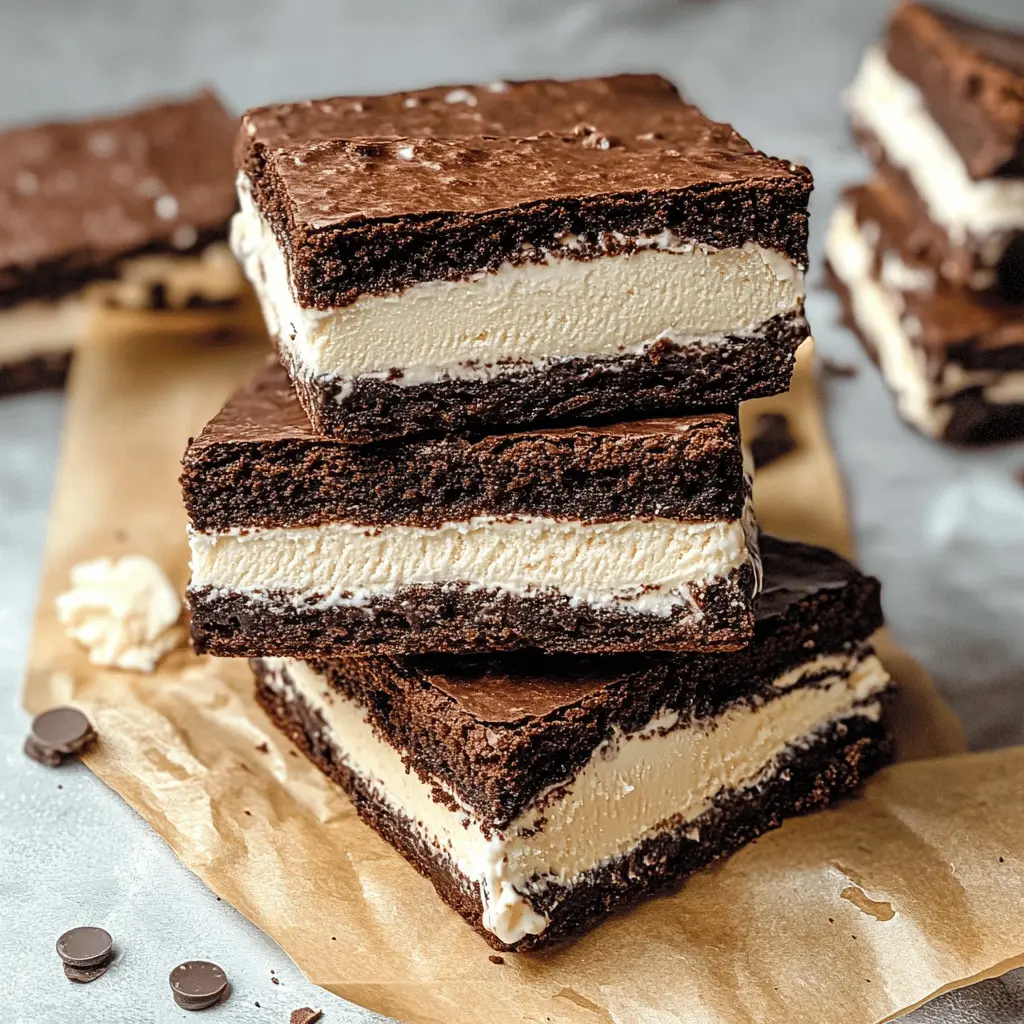
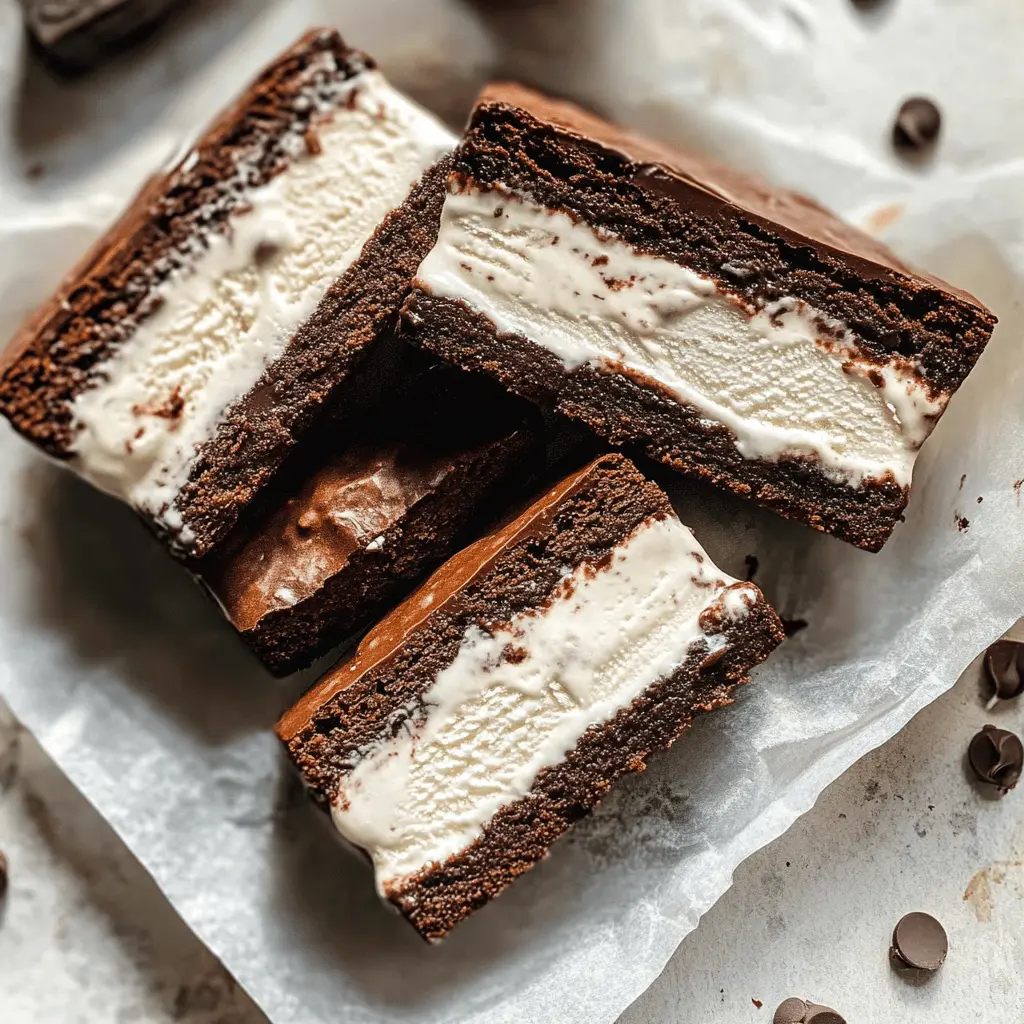
Brownie ice cream sandwiches are a fun and tasty treat! Soft, chewy brownies hug a scoop of creamy ice cream, making them perfect for hot days or just a sweet craving.
They’re easy to make, and you can mix and match flavors. Sometimes, I sneak a bite before serving—who can resist? 🍦😄 Grab some sprinkles on top for extra fun!
Key Ingredients & Substitutions
Butter: Unsalted butter adds richness to brownies. If you only have salted butter, just reduce the added salt in the recipe to balance the flavors. I always recommend using good quality butter for the best taste!
Sugar: Granulated sugar provides sweetness and helps create that chewy texture. If you’re looking for a healthier option, you can use coconut sugar or a sugar alternative like Stevia, but it might change the texture a bit.
Eggs: Eggs are key for binding and moisture in brownies. For a vegan version, try using flax eggs (1 tablespoon ground flaxseed + 2.5 tablespoons water = 1 egg) to achieve a similar texture.
Cocoa Powder: Unsweetened cocoa powder brings that rich chocolate flavor. If you only have Dutch-process cocoa, feel free to use it! Just note that it can alter the taste slightly.
Chocolate Chips: Semi-sweet chocolate chips add bursts of chocolate goodness. You can use dark chocolate, milk chocolate, or even white chocolate for a fun twist on flavor.
Ice Cream: Vanilla is classic, but you can customize your sandwiches with flavors like mint chocolate chip, cookie dough, or strawberry. It’s fun to mix and match!
How Do You Get Perfectly Baked Brownies?
Baking brownies to perfection can be tricky. You want them fudgy but not raw inside. A good guide is to look at the edges. They should be just set but the middle slightly soft. Here’s how:
- Preheat your oven to 350°F (175°C) to ensure even baking.
- Grease your pan well to prevent sticking. Parchment paper is a great option for easy removal.
- Check the brownies around the 20-minute mark by inserting a toothpick. If it comes out with a few moist crumbs (not wet batter), they are ready.
- Let them cool completely in the pan to firm up before cutting.
Trust me, letting them cool is key to that perfect brownie texture!
How to Make Brownie Ice Cream Sandwiches
Ingredients You’ll Need:
For the Brownies:
- 1 cup unsalted butter, melted
- 2 cups granulated sugar
- 4 large eggs
- 1 teaspoon vanilla extract
- 1 cup all-purpose flour
- ½ cup unsweetened cocoa powder
- ½ teaspoon salt
- 1 cup semi-sweet chocolate chips
For the Ice Cream Layer:
- 1 quart vanilla ice cream (or your choice of flavor)
How Much Time Will You Need?
This recipe will take about 40 minutes of active preparation and baking time, plus at least 2 hours for chilling in the freezer. You’ll bake the delicious brownies, cool them, assemble your sandwiches, and then let them freeze so they hold their shape nicely. A perfect treat to enjoy later!
Step-by-Step Instructions:
1. Bake the Brownies:
Start by preheating your oven to 350°F (175°C). While it’s heating, grease a 9×13 inch baking pan with cooking spray or line it with parchment paper. In a large mixing bowl, pour in the melted butter and granulated sugar. Stir them together until well mixed. Now, crack in the eggs, one at a time, mixing thoroughly after each addition. Don’t forget to add the vanilla extract next!
2. Combine Dry Ingredients:
In a separate bowl, whisk together the flour, cocoa powder, and salt. This helps to ensure even distribution of the dry ingredients. Now, gradually add this dry mixture to your wet ingredients, stirring until everything is just combined. Finally, fold in the chocolate chips for that extra chocolate goodness!
3. Baking and Cooling the Brownies:
Pour the brownie batter into your prepared pan and spread it out evenly. Pop it into the oven and bake for about 20-25 minutes. To check if they’re done, insert a toothpick into the center—if it comes out with a few moist crumbs, you’re good! Once baked, take them out and let them cool completely in the pan on a wire rack.
4. Assemble Your Ice Cream Sandwiches:
Once your brownies have cooled down, carefully remove them from the pan and cut them into rectangles, about 4×2 inches. Take half of these brownie pieces and place a scoop of ice cream (about ¼ to ⅓ cup) on the bottom side of each. Then, take the remaining brownie pieces and place them on top of the ice cream, bottom side facing the ice cream. Gently press down on the brownie tops to create a nice sandwich.
5. Freeze & Serve:
Wrap each brownie ice cream sandwich in plastic wrap and place them in the freezer for at least 2 hours, until the ice cream is firm. When you’re ready to serve, you can enjoy them straight from the freezer or let them sit at room temperature for a few minutes to soften up. Enjoy your delicious brownie ice cream sandwiches!
Can I Substitute the Butter with Coconut Oil?
Yes, you can substitute melted coconut oil for unsalted butter in this recipe! Just use the same amount (1 cup) and melt it before mixing. It might give a slight coconut flavor, but it will still be delicious!
What If I Don’t Have Semi-Sweet Chocolate Chips?
No problem at all! You can use any type of chocolate chips you have on hand, like milk chocolate or dark chocolate. Alternatively, you can chop up a chocolate bar to make your own chocolate chunks!
How Should I Store Leftover Brownie Ice Cream Sandwiches?
Store any leftover sandwiches in an airtight container or wrapped individually in plastic wrap. They can last in the freezer for up to a month. Just remember to let them thaw for a few minutes before enjoying, for the best texture!
Can I Use Gluten-Free Flour instead of All-Purpose Flour?
Absolutely! You can use a gluten-free all-purpose flour blend as a substitute for regular flour, and it should work well in this recipe. Just make sure that the blend contains xanthan gum for the best texture!