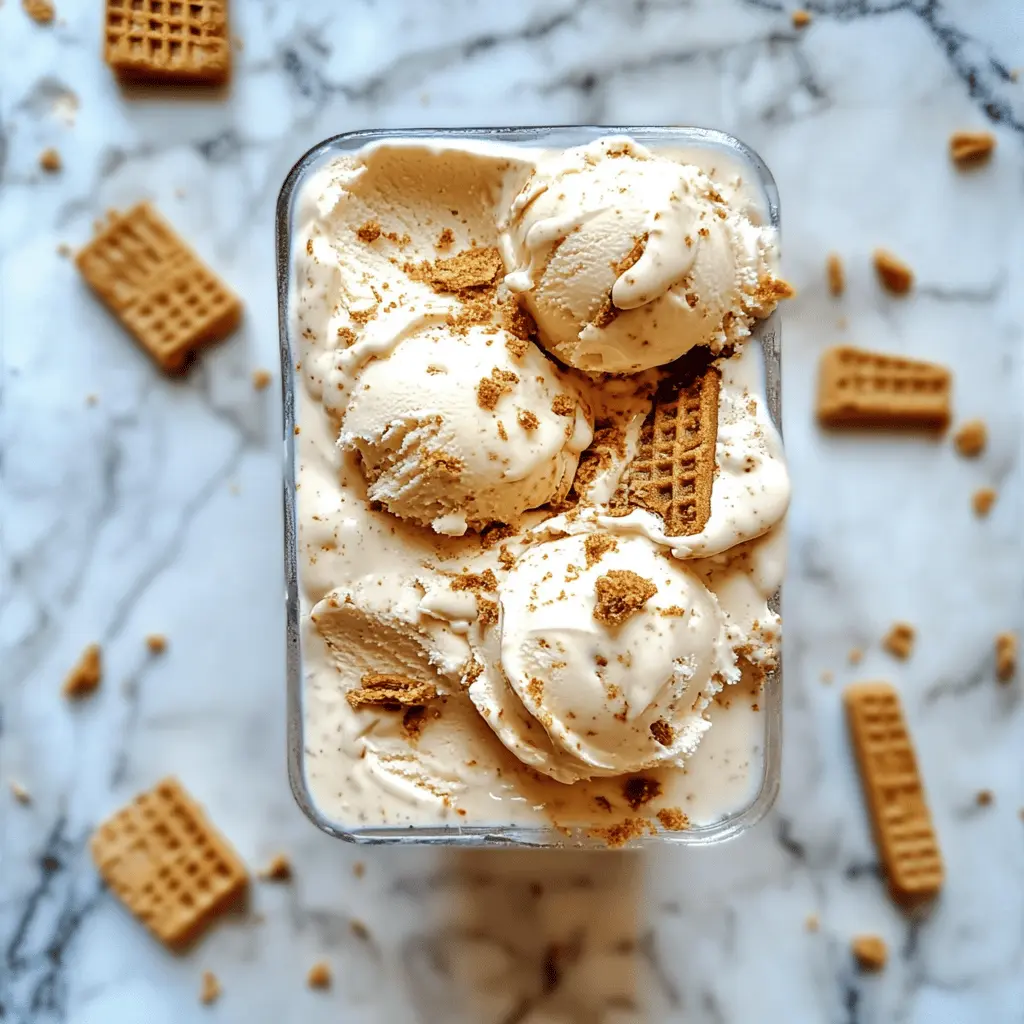
This creamy homemade Biscoff ice cream is a sweet treat that’s hard to resist! It’s made with tasty Biscoff cookies, which add a delightful crunch and flavor.
Making this ice cream is a breeze—just mix, freeze, and enjoy! It’s perfect for hot days or when you need a little pick-me-up. Trust me, you’ll want to keep this on hand! 🍦
Key Ingredients & Substitutions
Heavy Cream: This adds richness and creaminess. If you’re looking for a lighter version, you can use half-and-half instead. It won’t be as creamy but still works well!
Whole Milk: Whole milk makes the ice cream smooth. If you’re lactose intolerant, try almond milk or coconut milk for a dairy-free option, though it might change the flavor slightly.
Granulated Sugar: Sugar is key for sweetness. You can use brown sugar for a deeper flavor or even a sugar substitute like erythritol if you’re watching sugar intake.
Biscoff Cookie Spread: The heart of the recipe! If you can’t find it, cookie butter from other brands works too. For a nut-free option, consider sunflower seed butter.
Biscoff Cookies: These add crunch and flavor. Feel free to swap them for any other crunchy cookies you love, like ginger snaps or speculoos cookies.
How Do I Get the Ice Cream to Be Creamy and Scoopable?
The trick to creamy ice cream lies in churning and freezing properly. Start by ensuring your ice cream maker bowl is fully frozen, typically overnight. Then, when you churn the mixture, keep an eye on it around the 20-minute mark: it should look thick and start to hold shape.
- After churning, immediately transfer it to a container. Press down to remove any air pockets, which can cause ice crystals.
- Freeze for at least 2-4 hours. If it’s too hard, let it sit at room temperature for a few minutes before scooping.
This will help you get that perfect scoop every time, with a lovely creamy texture!

Easy Homemade Biscoff Ice Cream
Ingredients You’ll Need:
- 1 1/2 cups heavy cream
- 1 cup whole milk
- 2/3 cup granulated sugar
- 1 teaspoon pure vanilla extract
- 1 cup Biscoff cookie spread (smooth)
- 1 cup Biscoff cookies, roughly chopped
How Much Time Will You Need?
This easy ice cream recipe takes about 10 minutes to prepare and requires 20-25 minutes to churn, plus an extra 2-4 hours to freeze for a deliciously firm texture. So, in total, you’ll need a few hours, but most of it is just waiting time while it freezes!
Step-by-Step Instructions:
1. Mix the Base:
Start by pouring the heavy cream and whole milk into a medium bowl. Add the granulated sugar and vanilla extract. Use a whisk to mix everything together until the sugar is completely dissolved. This should take just a minute or two!
2. Incorporate the Biscoff Spread:
Next, add the smooth Biscoff cookie spread into your mixture. Whisk well until it’s fully incorporated and the mixture is smooth. You’ll want that delicious cookie flavor to blend in nicely!
3. Churn the Ice Cream:
Now, pour the mixture into your ice cream maker. Churn according to the manufacturer’s instructions, which usually takes about 20-25 minutes. You’ll know it’s ready when the mixture becomes thick and starts holding its shape!
4. Add the Crunchy Cookies:
In the last 5 minutes of churning, sprinkle in the roughly chopped Biscoff cookies. This will give your ice cream a delightful crunch. Let them mix in well!
5. Freeze the Ice Cream:
Carefully transfer your churned ice cream into a freezer-safe container. Press down the surface to remove any air pockets, which helps prevent ice crystals. For the best texture, freeze for at least 2-4 hours.
6. Serve and Enjoy:
Once your ice cream is firm and ready, scoop it out into bowls or cones. Enjoy the rich, creamy flavor with the delightful crunch of Biscoff cookie pieces. It’s perfect for any dessert lover!
This homemade Biscoff ice cream is sure to impress with its smooth texture and unique flavor. It’s a great treat for warm days or when you just want something sweet. Enjoy!
FAQ – Easy Homemade Biscoff Ice Cream
Can I Use Low-Fat Milk Instead of Whole Milk?
Yes, you can use low-fat milk, but keep in mind that the ice cream may not be as rich and creamy. For the best results, stick to whole milk or a full-fat alternative if you want that classic ice cream texture!
What If I Don’t Have an Ice Cream Maker?
No worries! You can make this ice cream without a machine. After mixing the ingredients, pour the mixture into a shallow dish and freeze it. Every 30 minutes, stir it vigorously to break up any ice crystals, repeating this for about 2-3 hours until smooth and firm.
How Long Can I Store Leftover Ice Cream?
Your homemade Biscoff ice cream can be stored in an airtight container in the freezer for up to 2-3 weeks. To keep it scoopable, try to minimize air exposure by pressing a piece of parchment paper against the surface before sealing the container.
Can I Add Other Mix-Ins?
Absolutely! Feel free to get creative by adding mix-ins like chocolate chips, crushed nuts, or even swirls of caramel or fudge during the last few minutes of churning. Just remember not to overload it, so the mixture still freezes well!